Dynamic DNS on Cloudflare: A Simple Trick to Cut Cloud Bills

Introduction
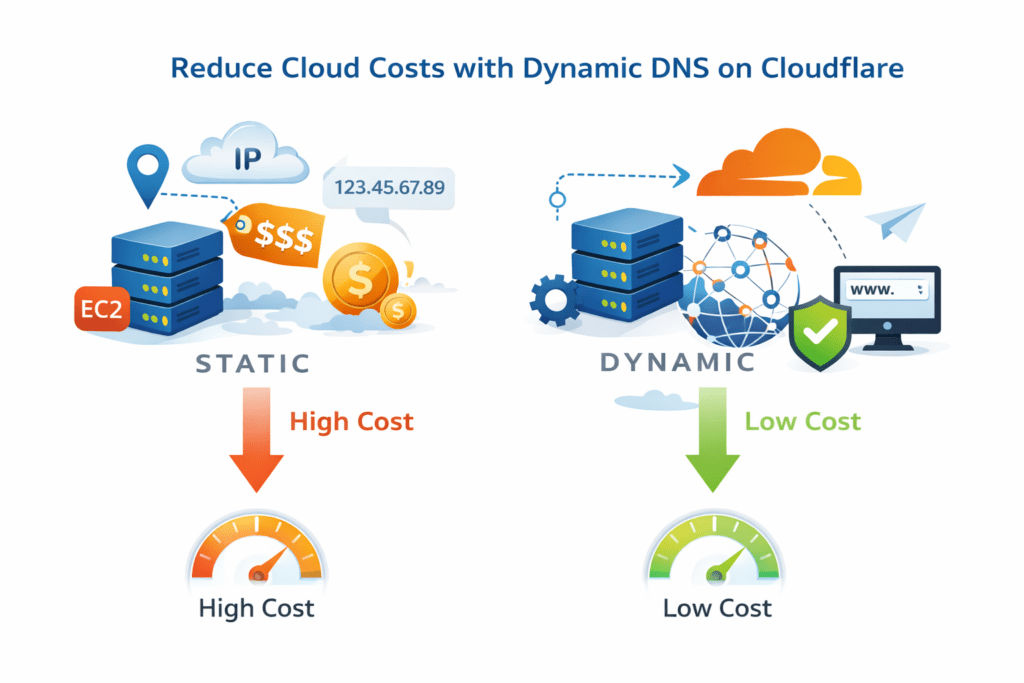
At Madgical Techdom, we work closely with cloud infrastructure and DevOps teams to build scalable and cost-effective systems. One solution we regularly use to reduce unnecessary cloud expenses is Dynamic DNS on Cloudflare, which helps teams avoid paying for static public IPs while keeping their services accessible.
In today’s cloud-native setups, teams frequently run EC2 instances, self-hosted tools, CI/CD runners, and temporary servers. Most of these workloads do not actually need a static IP. However, to keep services accessible through a domain name, Elastic IPs or reserved static IPs are commonly used. Over time, this leads to unnecessary cloud costs, particularly when servers are stopped, restarted, or used only for short periods.
Manually updating DNS records every time a public IP changes is not a practical solution. It takes time, increases the chance of mistakes, and adds extra operational overhead for engineering teams.
To solve this problem, we use Dynamic DNS on Cloudflare. By automating DNS updates whenever a server’s public IP changes, teams can remove the need for static IPs while keeping their services reliably accessible.
With this approach, teams can:
- Eliminate dependency on static IPs
- Reduce monthly cloud bills
- Keep applications reachable at all times
- Rely on automation instead of manual effort
In this blog, we’ll explain how Dynamic DNS on Cloudflare works, why it is an effective cost-optimization strategy, and how we at Madgical Techdom use it in real production environments.
Let’s get started by understanding the core challenge this solution addresses.
The Challenge of Static IPs and Manual DNS Management
At Madgical Techdom, the engineering team was running multiple self-hosted services like:
- SonarQube
- LinkedIn automation tools
- Internal dashboards
- Self-hosted GitHub runners
All these services were running on EC2 instances with dynamic public IPs.
Initially, the team took the “easy” route:
- Assign Elastic IPs
- Map them to Cloudflare DNS records
- Forget about it
But soon, reality hit hard 💸
Elastic IPs aren’t free when instances are stopped. Multiply that by multiple environments (dev, QA, tools), and suddenly you’re paying for IPs you barely use.
The alternative?
Manually updating Cloudflare DNS every time an instance restarts.
And trust me—that doesn’t scale.
- Engineers forgot to update DNS
- Services went down unexpectedly
- Debugging became painful
- Productivity took a hit
So the big question was:
Can we keep dynamic IPs AND stable domains—without extra cost?
The Solution: Dynamic DNS with Cloudflare
The DevOps team at Madgical Techdom decided to automate DNS updates using Cloudflare’s API and Dynamic DNS tooling.
The idea was simple but powerful:
“Whenever the public IP of a server changes, automatically update the DNS record in Cloudflare.”
- No Elastic IPs.
- No manual DNS edits.
- No downtime surprises.
They implemented Dynamic DNS (DDNS) using:
- Cloudflare DNS
- API tokens
- A lightweight client (
ddclient) running on the server
Every few minutes, the client:
- Checks the server’s current public IP
- Compares it with the existing DNS record
- Updates Cloudflare automatically if it changes
And just like that—it felt like magic ✨
Why This Is a Cost Optimization Win
Let’s talk money 💰
By switching to Cloudflare Dynamic DNS, the team achieved:
- ❌ No Elastic IP costs
- ❌ No reserved static IPs
- ❌ No idle resource billing
- ✅ Pay only for compute when needed
- ✅ Cloudflare DNS (free tier is more than enough)
For startups and small teams, this can easily save thousands per year as infrastructure grows.
Prerequisites
Before setting up Dynamic DNS with Cloudflare, make sure you have:
- A Cloudflare account
- A domain added to Cloudflare (e.g.
madgicaltechdom.com) - An EC2 instance or server with a dynamic public IP
- Root or sudo access on the server
Steps to Set Up Dynamic DNS on Cloudflare
1. Create a Cloudflare API Token
- Log in to Cloudflare Dashboard → My Profile → API Tokens.
- Create a token with these permission:
- Zone:DNS:Edit
- Zone:Zone:Read
- Zone Resources: Include → Specific Zone → your domain (or “All zones” if updating multiple domains).
- Save the API token — you’ll need it in ddclient configuration.
2. Install Dynamic DNS Client on Your Server
Most teams use ddclient because it’s lightweight and reliable. Since my server is Debian, we can install from a package:
sudo apt update
sudo apt install -y ddclient
Verify installation:
ddclient --version
which ddclient
Expected:
Binary path, e.g., /usr/sbin/ddclient (important for cron)
ddclient version 3.10.0 or newer
3. Configure ddclient for Cloudflare
Update the configuration file:
sudo vi /etc/ddclient.conf
Example config for Cloudflare:
# Global settings
daemon=0
syslog=yes
ssl=yes

# Cloudflare
protocol=cloudflare
server=api.cloudflare.com/client/v4
login=token
password=YOUR_CLOUDFLARE_API_TOKEN
zone=madgicaltechdom.com
sonarqube.madgicaltechdom.com
Secure the config:
sudo chmod 600 /etc/ddclient.conf
4. Set up cron for automatic updates
Debian cron is reliable — we don’t use the ddclient daemon.
1. Create a cron file:
sudo vi /etc/cron.d/ddclient
2. Add these lines:
@reboot root /usr/sbin/ddclient -quiet
*/5 * * * * root /usr/sbin/ddclient -quiet
Explanation:
@reboot→ runs once immediately when EC2 starts*/5 * * * *→ runs every 5 minutes to catch IP changes
3. Set proper permissions:
sudo chmod 644 /etc/cron.d/ddclient
4. Restart cron to apply:
sudo systemctl restart cron
sudo systemctl enable cron
5. Verify DNS Updates
- Restart your instance
- Check the DNS record in Cloudflare
- Confirm that it points to the new public IP
dig +short passbolt.madgicaltechdom.com
curl ifconfig.me
Ensure the IP returned by dig matches the EC2 public IP.
6. Test ddclient
1. Force a manual update:
sudo ddclient -force -verbose
2. Check the log to verify:
sudo journalctl -t ddclient -n 20
sudo grep ddclient /var/log/syslog | tail -20
3. Look for messages like:
SUCCESS: updating passbolt.madgicaltechdom.com: IPv4 address set to 54.xxx.xxx.xxx
Boom 💥
Your domain now follows your server automatically.
The Results
After implementing Dynamic DNS on Cloudflare, we saw clear improvements in both cost management and operational efficiency.
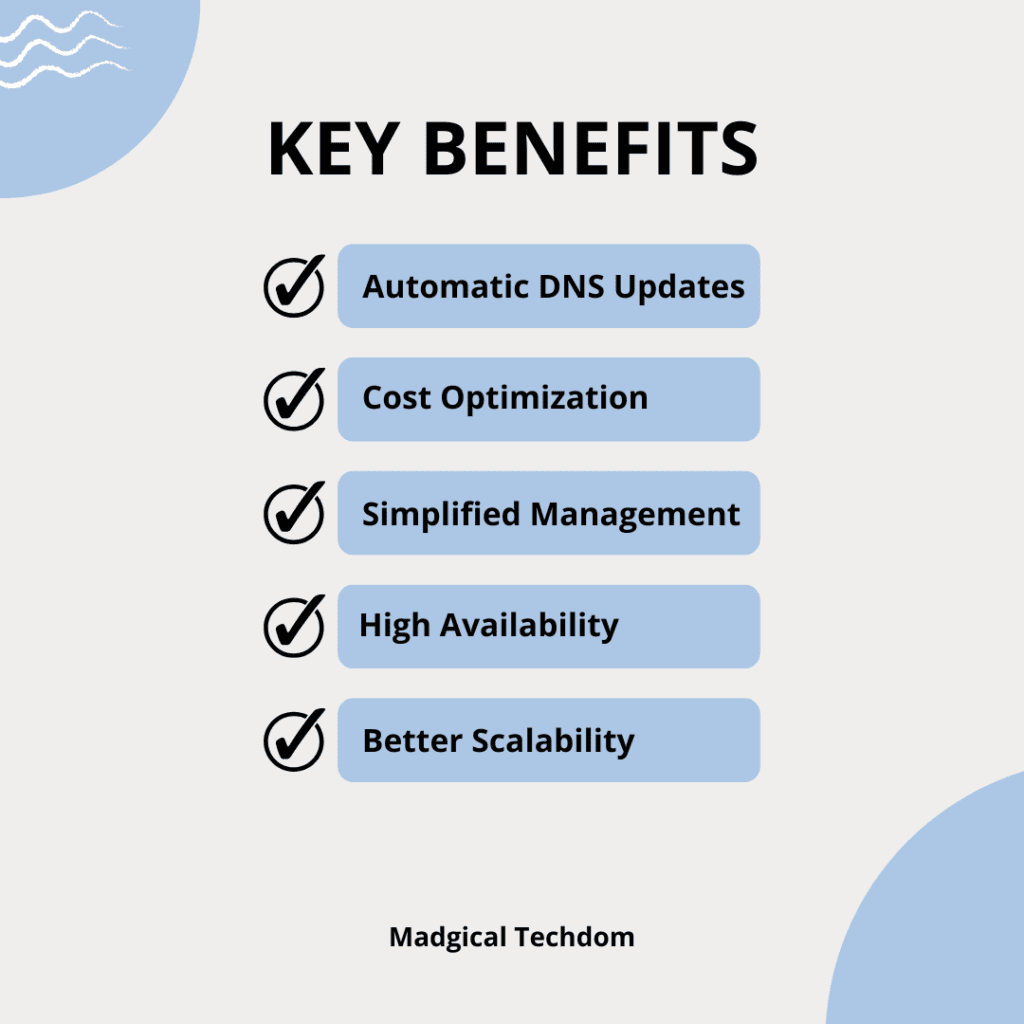
Here’s what changed after implementing Cloudflare Dynamic DNS:
- 🚀 DNS updates became fully automated
- 💸 Cloud infrastructure costs were reduced by removing static IP dependencies
- 🧠 Engineering teams spent less time on manual DNS management
- 🔄 Public IP changes no longer affect service accessibility
- 🔒 All existing Cloudflare security features (WAF, proxy, SSL) remained intact
With this setup, teams can now confidently:
- Start and stop instances without DNS issues
- Rebuild or replace servers easily
- Use short-lived and non-production environments efficiently
- Scale infrastructure without worrying about domain availability
Most importantly, all services remained online, stable, and accessible.
Conclusion
Dynamic DNS on Cloudflare is a practical and effective solution for teams looking to optimize cloud costs without adding complexity.
If your organization is:
- Paying for Elastic IPs that are rarely used
- Running self-hosted services on EC2 or similar platforms
- Managing multiple development or testing environments
- Looking for a simple way to reduce cloud expenses
Then Dynamic DNS on Cloudflare is a solution worth adopting.
With a small amount of automation, teams can reduce costs, simplify operations, and build more flexible cloud infrastructure.
Thank you for reading!! See you in the next blog.
I hope this article proves beneficial to you. If you have any doubts or suggestions, feel free to mention them in the comment section below or contact us.
References
- Cloudflare Dynamic DNS Documentation
- ddclient Official Guide
- How to Achieve 60% AWS Cost Optimization with Terraform, Functions, and Tags?
- Enable Symlink in Tomcat to Secure User Data
- Skaffold | Kubernetes Development made easy.
- Kustomize for Kubernetes Efficiency: A Practical Guide.
- Scalable Live Streaming With Kubernetes: The Complete Guide
- How does Karpenter cut Kubernetes costs by 20% and scale them faster?